6 minutes
Taking T-Pot to the Next Level
Auto Installation script available here
It started simply…
a coworker and I were discussing some of the benefits of running your own honeypot (either for personal research purposes or for business reasons… you take your pick). During the conversation we rattled off the normal low/medium interaction honeypots and quickly circled around to the benefits of centralized monitoring and logging for whatever combination of distributed sensors we wanted to deploy.
Of course he immediately pointed out how nice running a Modern Honey Network setup can be. What with the easily deployable sensors and convenient centralized dashboard MHN has been pretty much the defacto king of honeypots for many, including myself… at least until now.
While this may be old news for some our discussions led us to discover a relative newcomer to the honeypot game: T-Pot.
What is T-Pot
T-Pot is a honeypot platform that was developed by the Deutsche Telekom Security Group which in their own words is:
a honeypot platform, which is based on the well-established honeypots glastopf, kippo, honeytrap and dionaea, the network IDS/IPS suricata, elasticsearch-logstash-kibana, ewsposter and some docker magic. We want to make this technology available to everyone who is interested and release it as a Community Edition. We want to encourage you to participate.
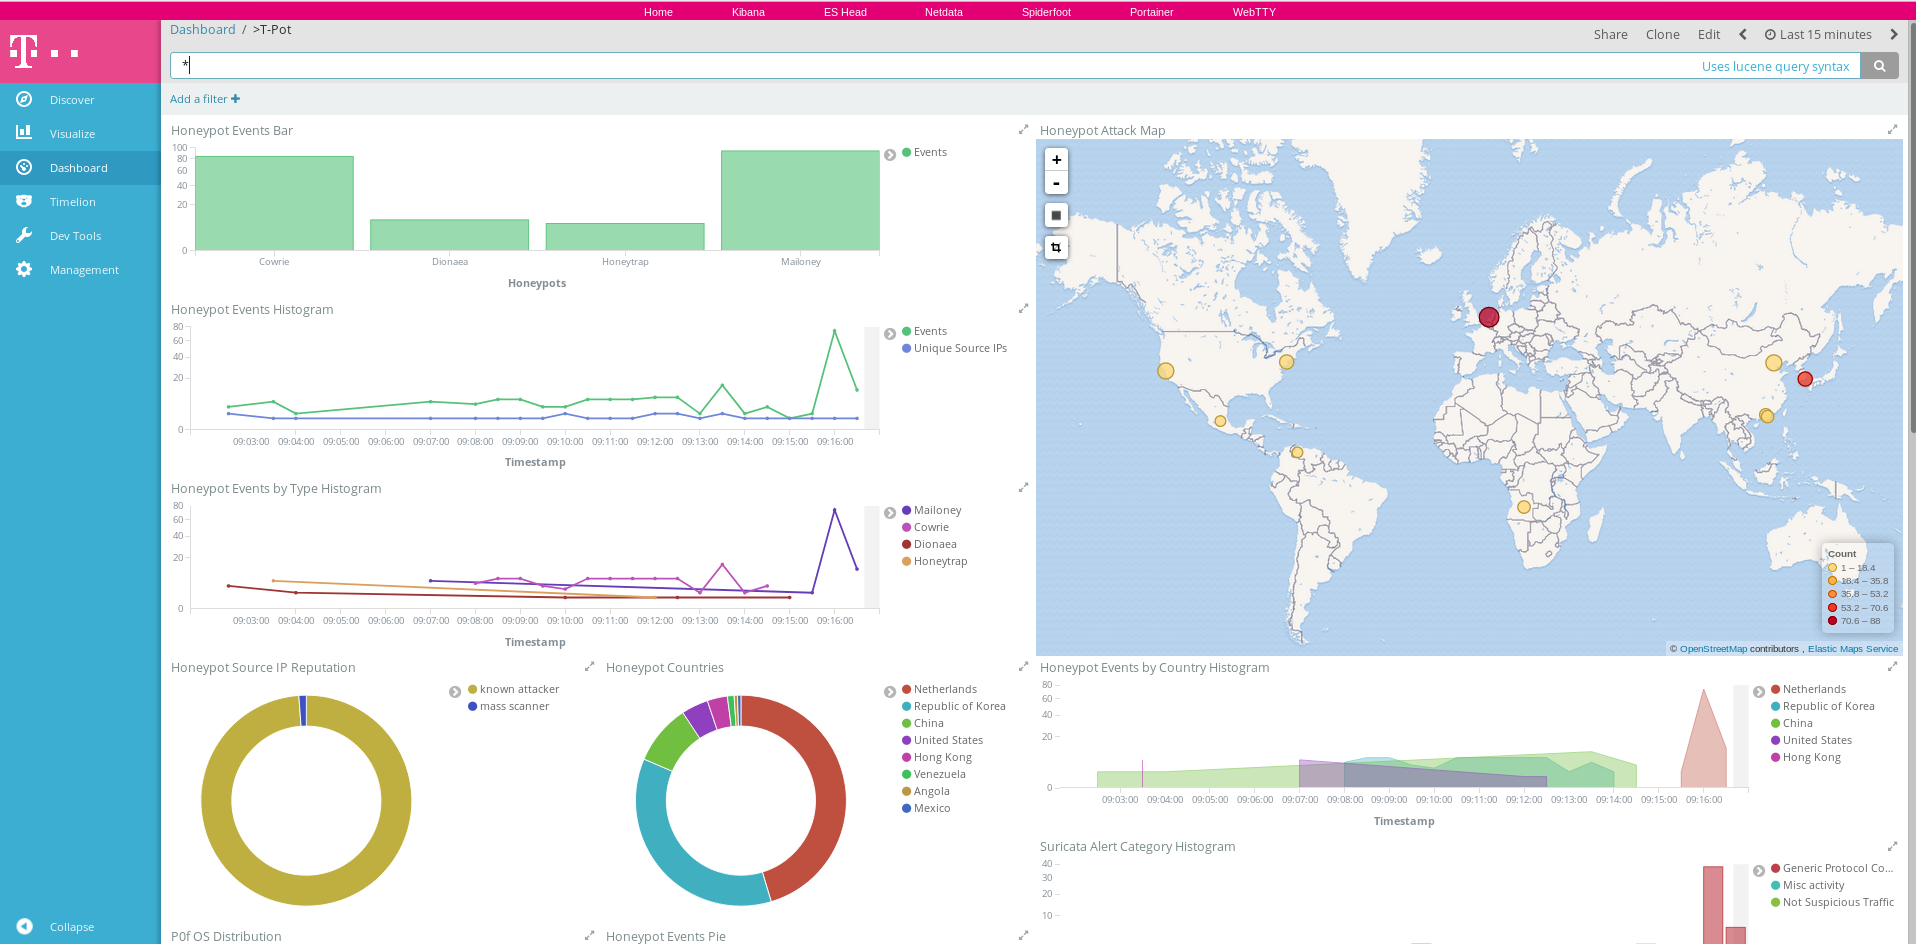
In that spirit of participation I quickly spun up an Ubuntu 16.04 image on DigitalOcean and gave their auto-install script a go. As long as you meet the minimum system requirements (4GB ram and a dual core cpu seemed to work fine for me) you’ll have a very attractive set of Kibana dashboards at your fingertips to visualize the various honeypot data as well as the ability to perform manual queries and analysis to your heart’s content.

T-Pot Main Dashboard
At this point I knew I couldn’t go back to MHN, but I couldn’t quite convert fully to T-Pot since it was missing one key feature that I wanted: support for remote sensors
Adding it wasn’t too bad - the process really boiled down to 3 steps. (with two ‘bonus’ steps covered in a future blog covering how to get these steps actually built into Docker images/compose files and updating the auto-install script to make this all automated).
- Identify log passing mechanism
- Configure the ‘Collector’ to be ready to receive remote logs
- Configure the ‘Sensor’s’ to send remote logs
Of course there were a few additional tasks to accomplish along the way, and there are still more to add to make the entire setup a bit leaner, but I’m happy with the results at the moment.
Adding Sensors
How to send with logstash?
So since the default T-Pot installation implements a complete ELK (elasticsearch-logstash-kibana) stack I elected to use lumberjack as my means to send logs from the remote sensors to the centralized server. Using lumberjack has a few benefits primarily that it provided encryption and was easily configured.
The next step was to configure the ‘Collector’ to accept logs from sensors sending via lumberjack. Thankfully, Elastic.co provides easy to follow documentation for most of their products.
Configuring the ‘Collector’ to Receive
Using lumberjack as an input source in a logstash.conf file only requires 3 arguments. A port to listen on, and an SSL Key/Certificate pair to use for encryption.
First I generated the ssl key/cert pairing with the following
openssl req -x509 -batch -nodes -newkey rsa:2048 -days 365 -keyout "lumberjack.key" -out "lumberjack.crt"
After copying these certificates to a directory that the logstash docker container would be able to access I modified the logstash configuration file to add the following input:
lumberjack {
  port => 9220
  codec => "json"
  ssl_certificate => "/etc/logstash/certs/lumberjack.crt"
  ssl_key => "/etc/logstash/certs/lumberjack.key"
  tags => ["Sensordata"]
}
It’s important to note that in order to expose this port in the docker container that gets installed by the current official autoinstall script it’s necessary to run a new instance of the logstash container and expose an additional port
The ‘Sensordata’ tag was added to allow the central logging server to also continue to serve as a honeypot collector itself. Originally, without this tag, data from the sensors was being processed a second time by the central server as well. With the inclusion of the sensordata tag the local data encrichments could be bypassed with a simple if statement:
if !("Sensordata" in [tags]) {
  # Add geo coordinates / ASN info / IP rep.
    if [src_ip]  {
      geoip {
        cache_size => 10000
        source => "src_ip"

      ... Abbreviated for blog ...

  # Add T-Pot hostname and external IP
    if [type] == "ConPot" or [type] == "Cowrie" or [type] == "Dionaea" or [type] == "ElasticPot" or [type] == "eMobility" or [type] == "Glastopf" or [type] == "Honeytrap" or [type] == "Mailoney" or [type] == "Rdpy" or [type] == "Suricata" or [type] == "Vnclowpot" {
      mutate {
        add_field => {
          "t-pot_ip_ext" => "${MY_EXTIP}"
          "t-pot_ip_int" => "${MY_INTIP}"
          "t-pot_hostname" => "${MY_HOSTNAME}"
        }
      }
    }
  }
}
When logstash is reloaded with this configuration and supporting certificate/key files the central server is now ready to receive remote logs.
Configuring the ‘Sensor’ to Send
With our central server listening for new logs coming in via lumberjack it’s time to slim down our remote sensor by removing the Elasticsearch and Kibana components of the ELK stack and reconfigure logstash to send records remotely.
The Elastic/Kibana components are removed quickly by running the following on a box configured with the original autoinstall script:
docker stop kibana elasticsearch
docker rm kibana elasticsearch
Now in the logstash container we need to install the lumberjack-output plugin and configure logstash to send output to the central server instead of the no-longer-existent local Elasticsearch container.
/usr/share/logstash/bin/logstash-plugin install logstash-output-lumberjack
And then change the logstash config to remove the current elasticsearch section and replace it with our lumberjack one so that the output section looks like this:
# Output section
output {
  # Lumberjack (remote sensor - sensor parsed the values)
  lumberjack {
    port => 9220
    codec => "json"
    ssl_certificate => "/etc/logstash/certs/lumberjack.crt"
    hosts => ["CENTRAL_SERVER_IP"]
  }
}
Again note that the lumberjack certificate that is used on the central server needs to also be present on each of the remote sensors in order for lumberjack to function properly.
With the configuration modified now all that’s left to do is restart the logstash service and we should see logs from our sensors start to show up in our central dashboard.

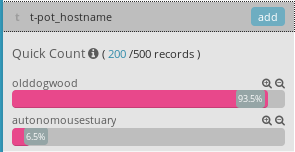
'Discover' tab after a sensor is deployed

Zoomed in view showing multiple t-pot instances
Well that wasn’t too bad. Now in order to actually make this easy to use and support the auto-install script a few additional steps were required. But those will be the topic of a future post. The repositories I created are available here and here if you want to browse all the code before then.
Happy Hacking,
-Sy14r